


Homemade Paneer Experiments: What Works, What Doesn’t
Paneer 102

In my last post, I dove into the chemistry behind paneer. If you're curious about the science of this delicious ingredient, check that out first!
Now, let’s say you’re excited to try making paneer at home. The basic process sounds simple: heat milk, add a souring agent, wait for it to curdle, drain the curds, and shape them. Easy, right? Well, yes—and no. Everyone online seems to have different advice for each step.
“Use vinegar!” some say.
“No, use yogurt,” others argue.
You open your fridge and spot a lonely can of fat-free milk. “Will this even work?” you wonder.
Don’t worry—I’ve done the experimenting for you. I’ve even shared video links on my Instagram so you can watch it all unfold. Here are the four key factors I tested:
1. Does the souring agent matter? (Vinegar, Lime Juice, Yogurt)
Yes, it does.
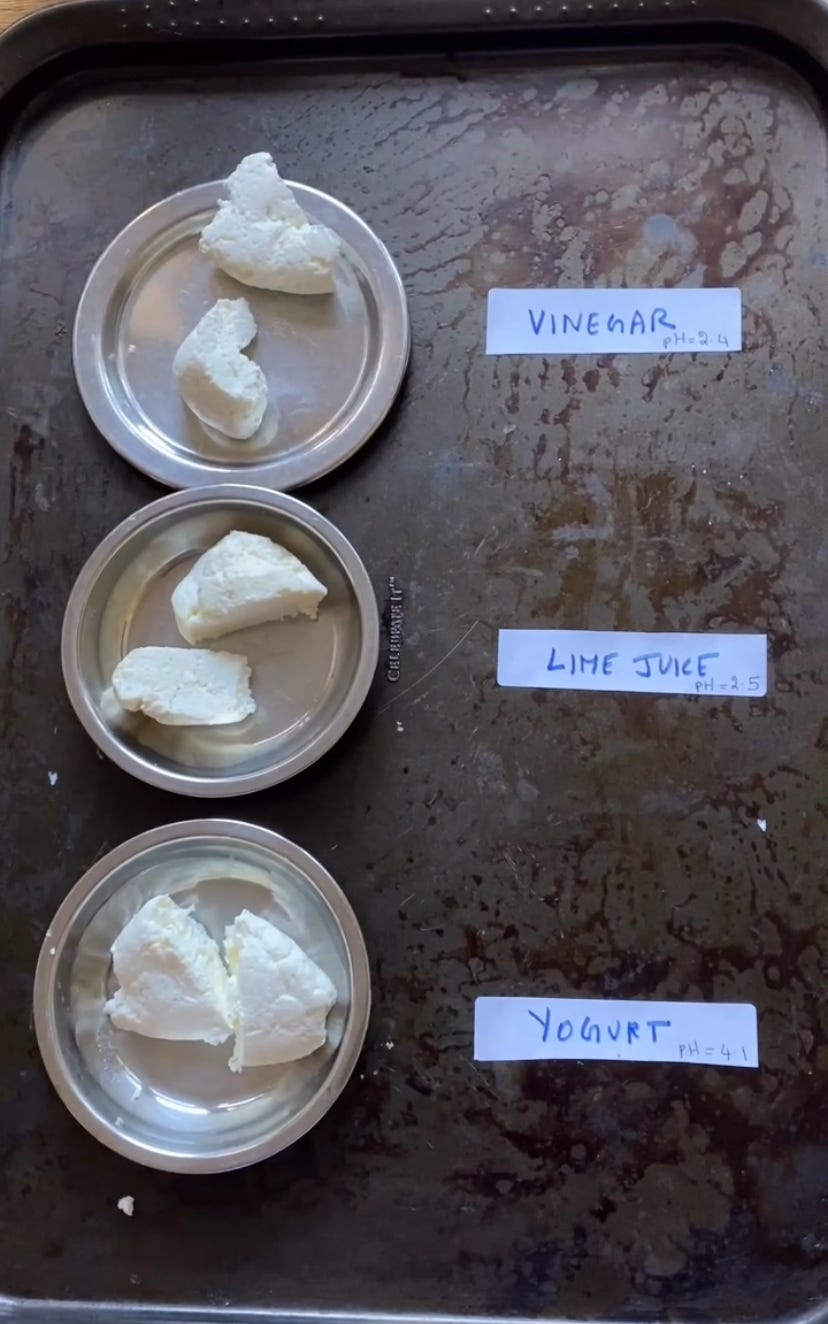
Milk has a natural pH of around 6.6, and you need to lower it to about 4.7 for curdling to occur.
Vinegar (pH 2.4)
Lime juice (pH 2.5)
Yogurt (pH 4.1)
Although those numbers seem close, pH is logarithmic—a small change equals a big difference. For instance, a pH difference of 2 reflects a 100-fold change in hydrogen ion concentration.
That acidity affects both how fast the milk curdles and how the paneer turns out:
Vinegar: Fastest and most efficient (only 1 tbsp needed for 1.5 cups), but the paneer was a bit rubbery.
Lime juice: Needed 2 tbsp and added a citrusy note (which I personally liked).
Yogurt: Took 8 tbsp but yielded the softest, creamiest paneer with higher moisture retention.
All work—just be aware of the textural differences. Video link here.
2. Full-Fat Milk vs. Fat-Free Milk
If you guessed “Fat wins!”—you’re absolutely right.

Paneer made from skim milk was rubbery and tough due to the lack of fat. Paneer from full-fat milk (3.25% fat, typical U.S. cow’s milk) was much creamier.
Side note, the yield was also dramatically different:
Full-fat milk (1.5 cups) gave 74g of paneer
Fat-free milk (1.5 cups) gave only 37g
Unless you're avoiding fat for health reasons, always go for full-fat milk for the best texture and yield. Video link here.
3. Buffalo Milk vs. Cow’s Milk
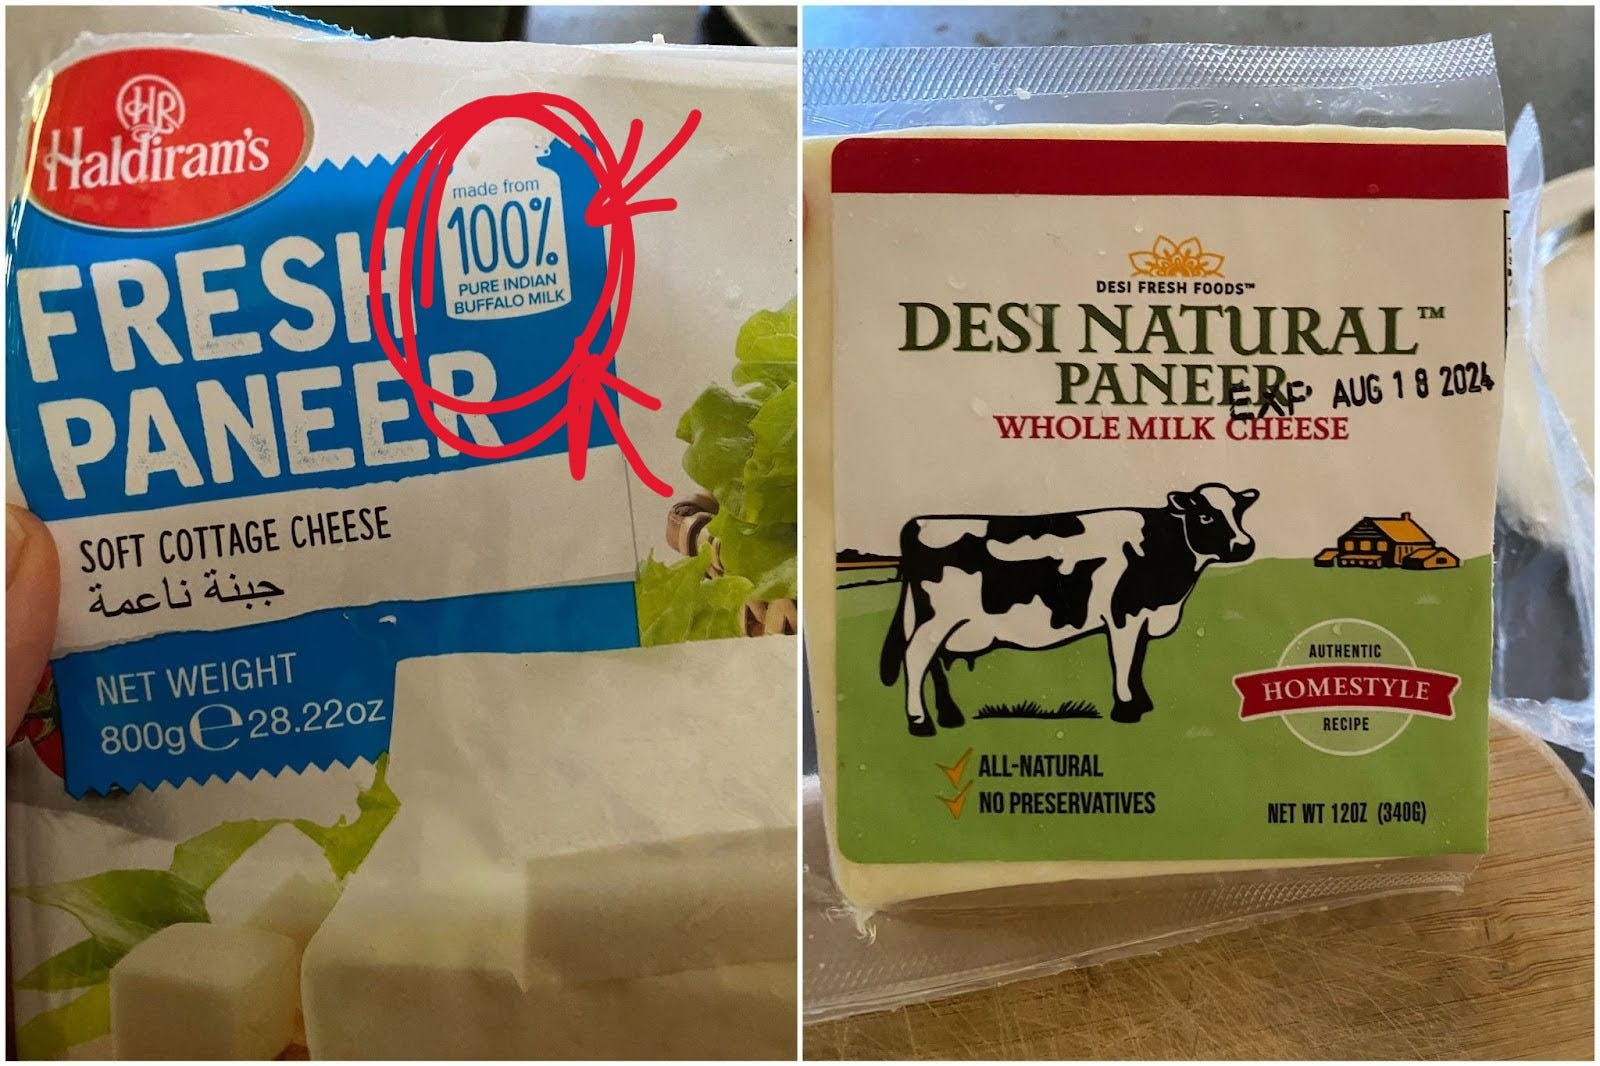
Buffalo milk has 7–8% fat—about double that of cow’s milk. Unsurprisingly, the paneer it produces is creamier and richer. If you've never tried buffalo milk paneer, you’re in for a treat—go find it!
Fun fact: buffalo milk is also whiter than cow’s milk. That’s because buffaloes metabolize beta carotene (a yellow pigment found in grass) into vitamin A, while a cow does not, making their milk and dairy products whiter in color. Video link here.
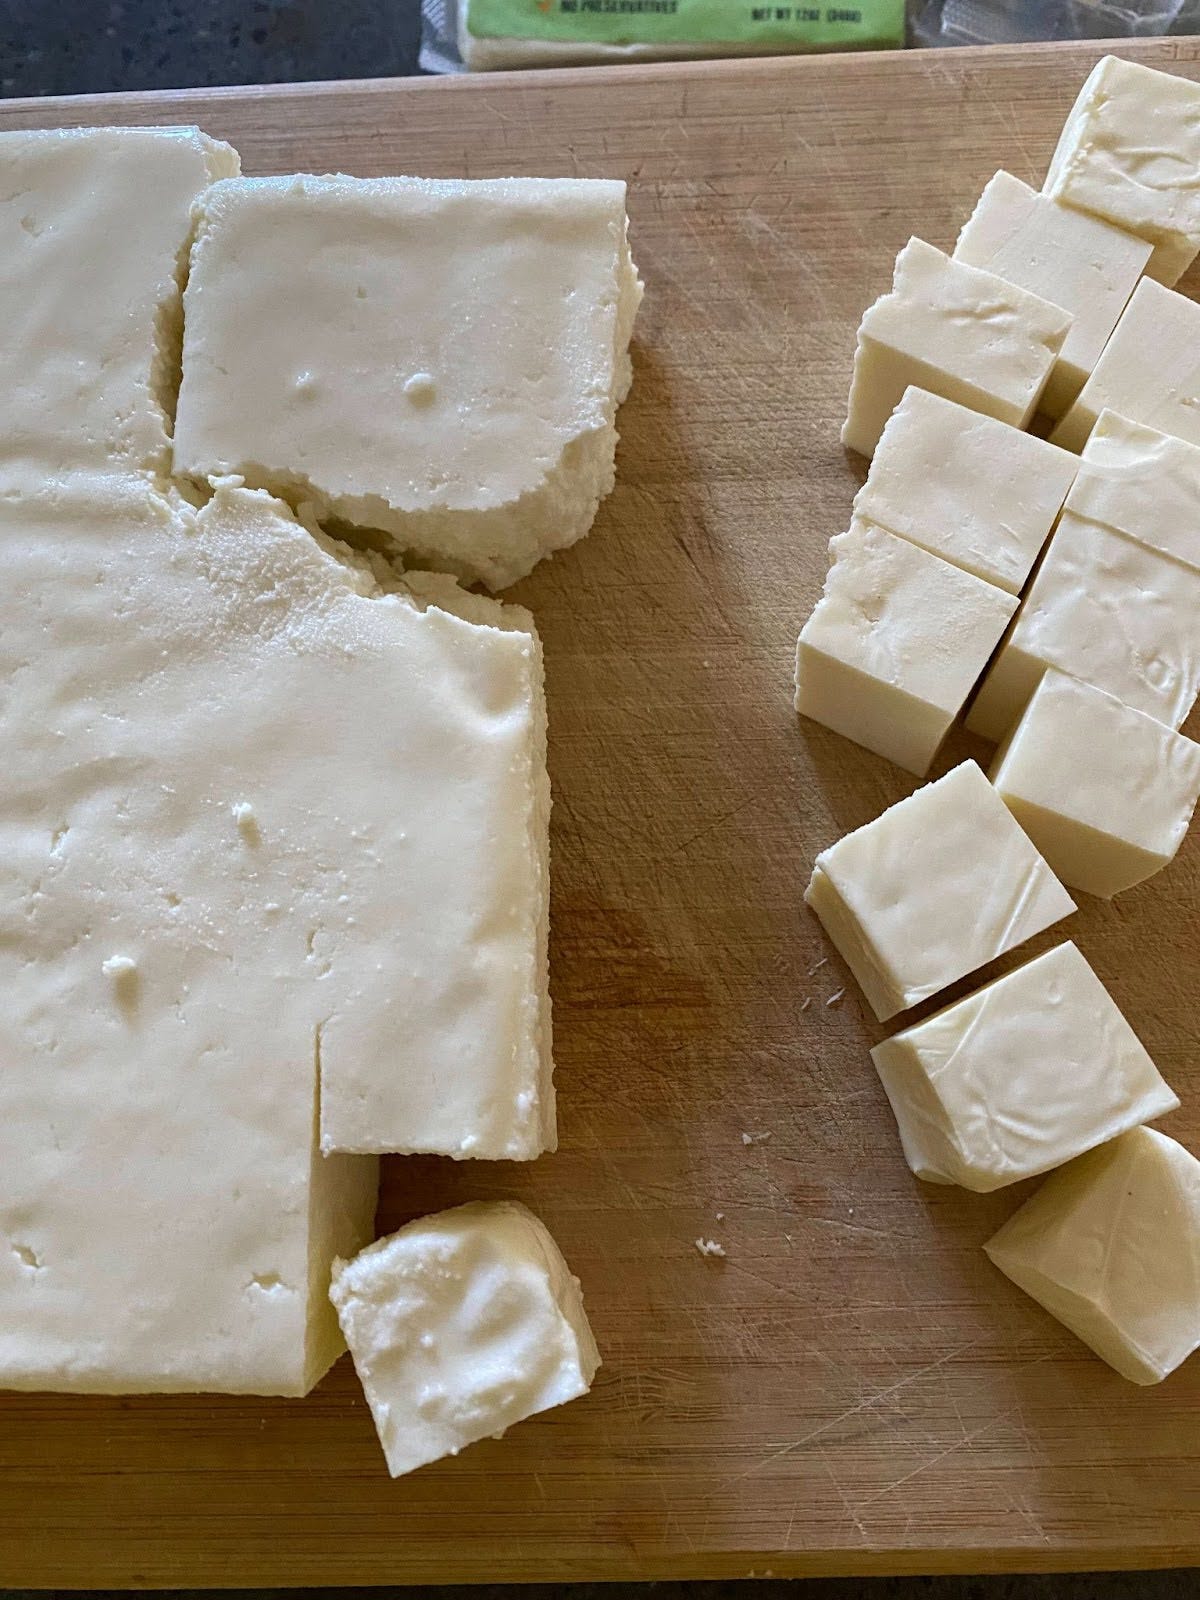
4. Should You Dunk Paneer in Cold Water After Curdling?
I tested this by splitting a batch in half—one I left hot, the other I plunged into ice water.

Hot paneer: Proteins are sticky at high temps, so when pressed, they clump tightly and squeeze out more moisture—resulting in a dense, less porous paneer.
Cold-shocked paneer: Cooling stops the proteins from bonding too tightly. The result? A softer, more crumbly texture.
If you prefer your paneer soft and moist, dunk it in ice water right after curdling. Video link here.
Hope you found these tips helpful! If you’re looking to truly master Indian cooking and understand the "why" behind it, you’re in the right place. Follow and subscribe for more deep-dive posts like this one!
Was waiting for this post. Thanks
Brilliant comparison. I wonder how it would work with goat milk? I can’t take cow dairy. I assume like one made with semi skimmed milk. I might try goat milk and sheep yogurt as I can’t get sheep milk, which is more like buffalo milk.